Building Cookbok in Just 15 Minutes
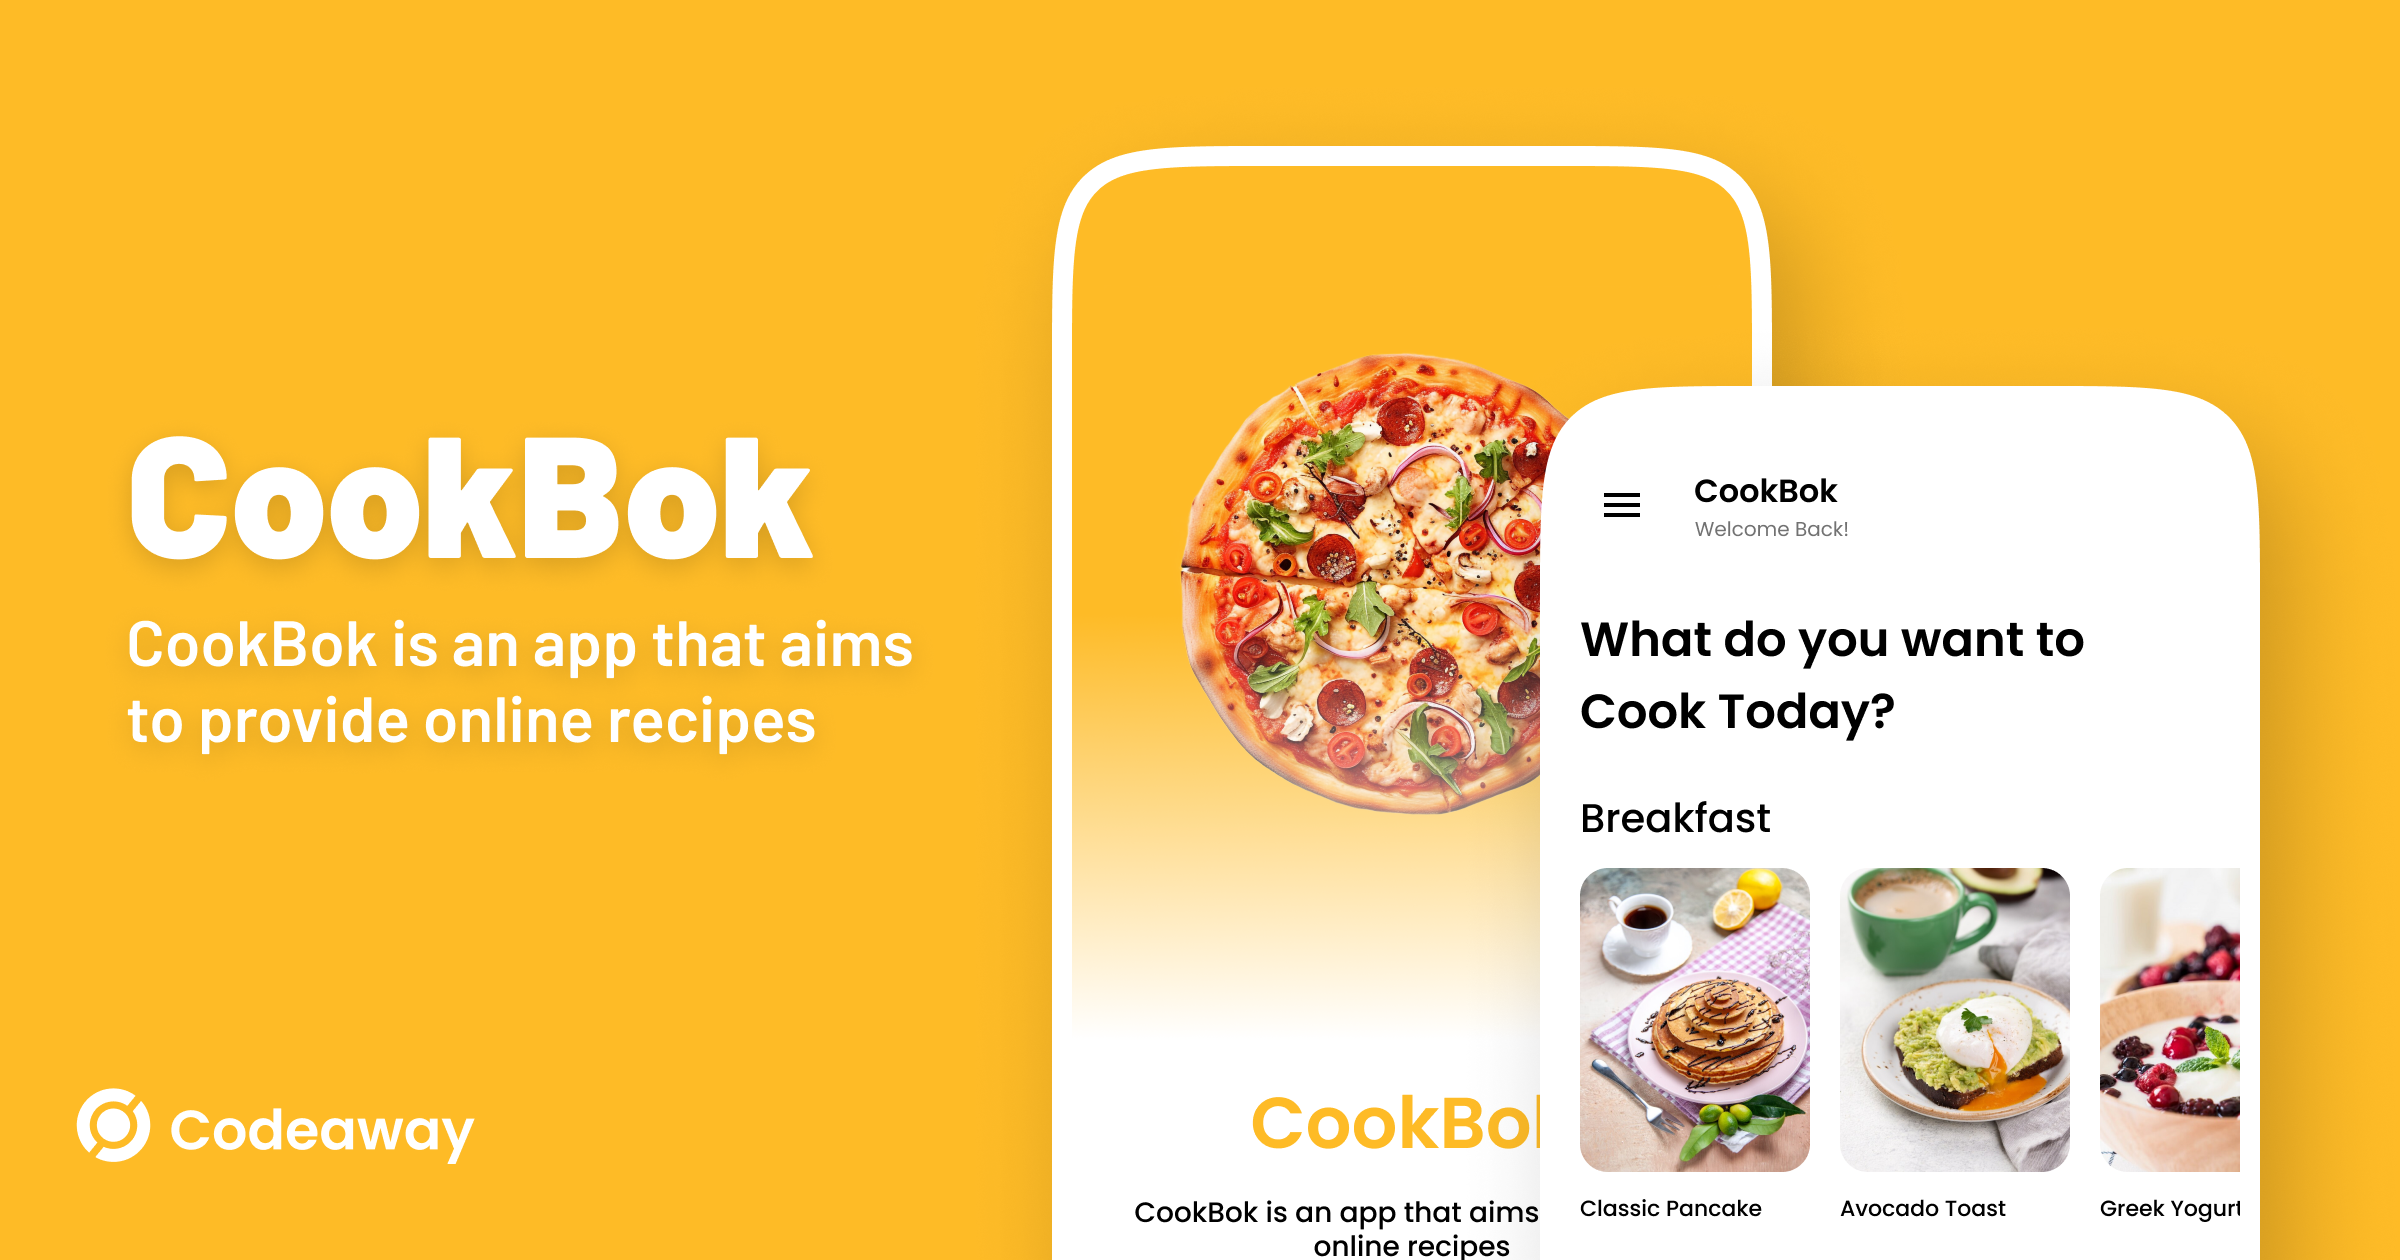
In this blog, I'll share how I built a recipe app in just 15 minutes using Codeaway.
Designing the App
First, let's create a new page in figma and rename that as Screens.

And then complete our UI design in Figma.
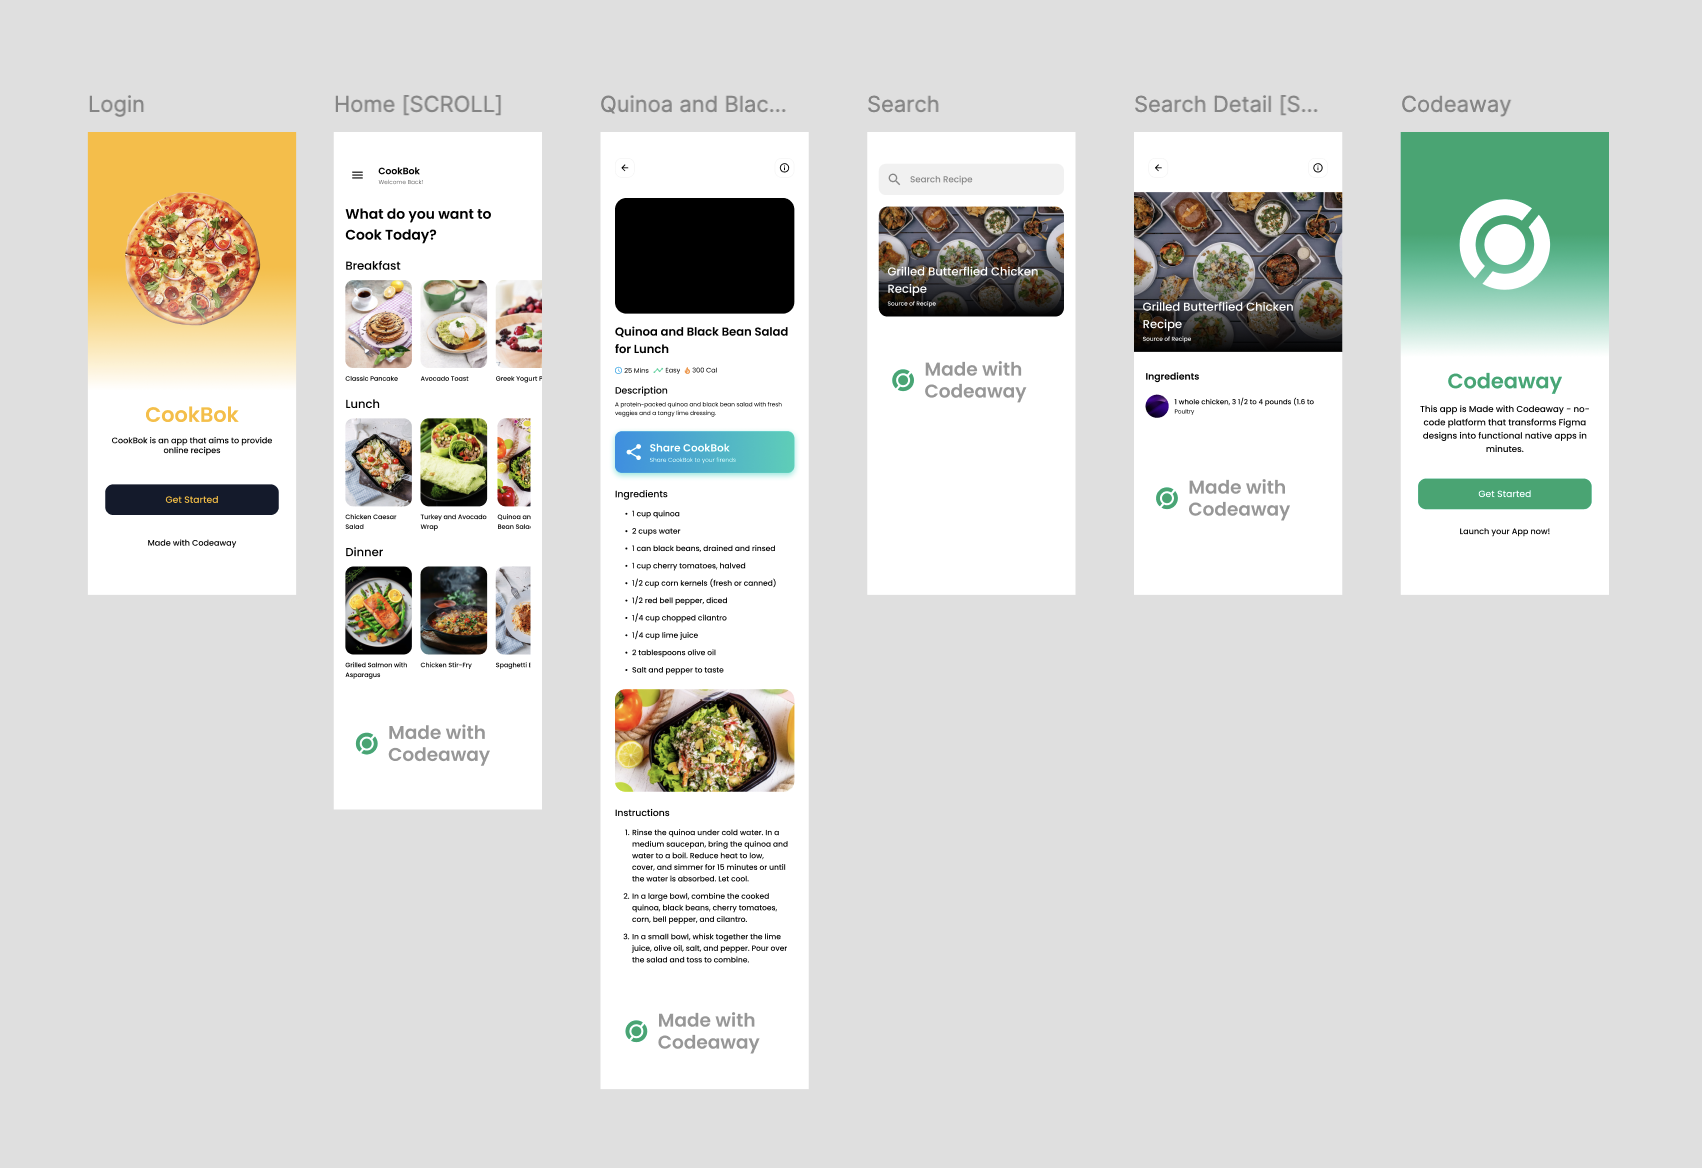
I designed the app in Figma using Auto Layouts and added various Tags like [LIST], [BUTTON], [BOTTOM TAB], [WEBPAGE], [DRAWER], [INPUT], [SCROLL], and [POPUP]. To learn more about these Tags, check out the Codeaway documentation.
Setting Up Your Project in Codeaway
Now, let's create a project in Codeaway.
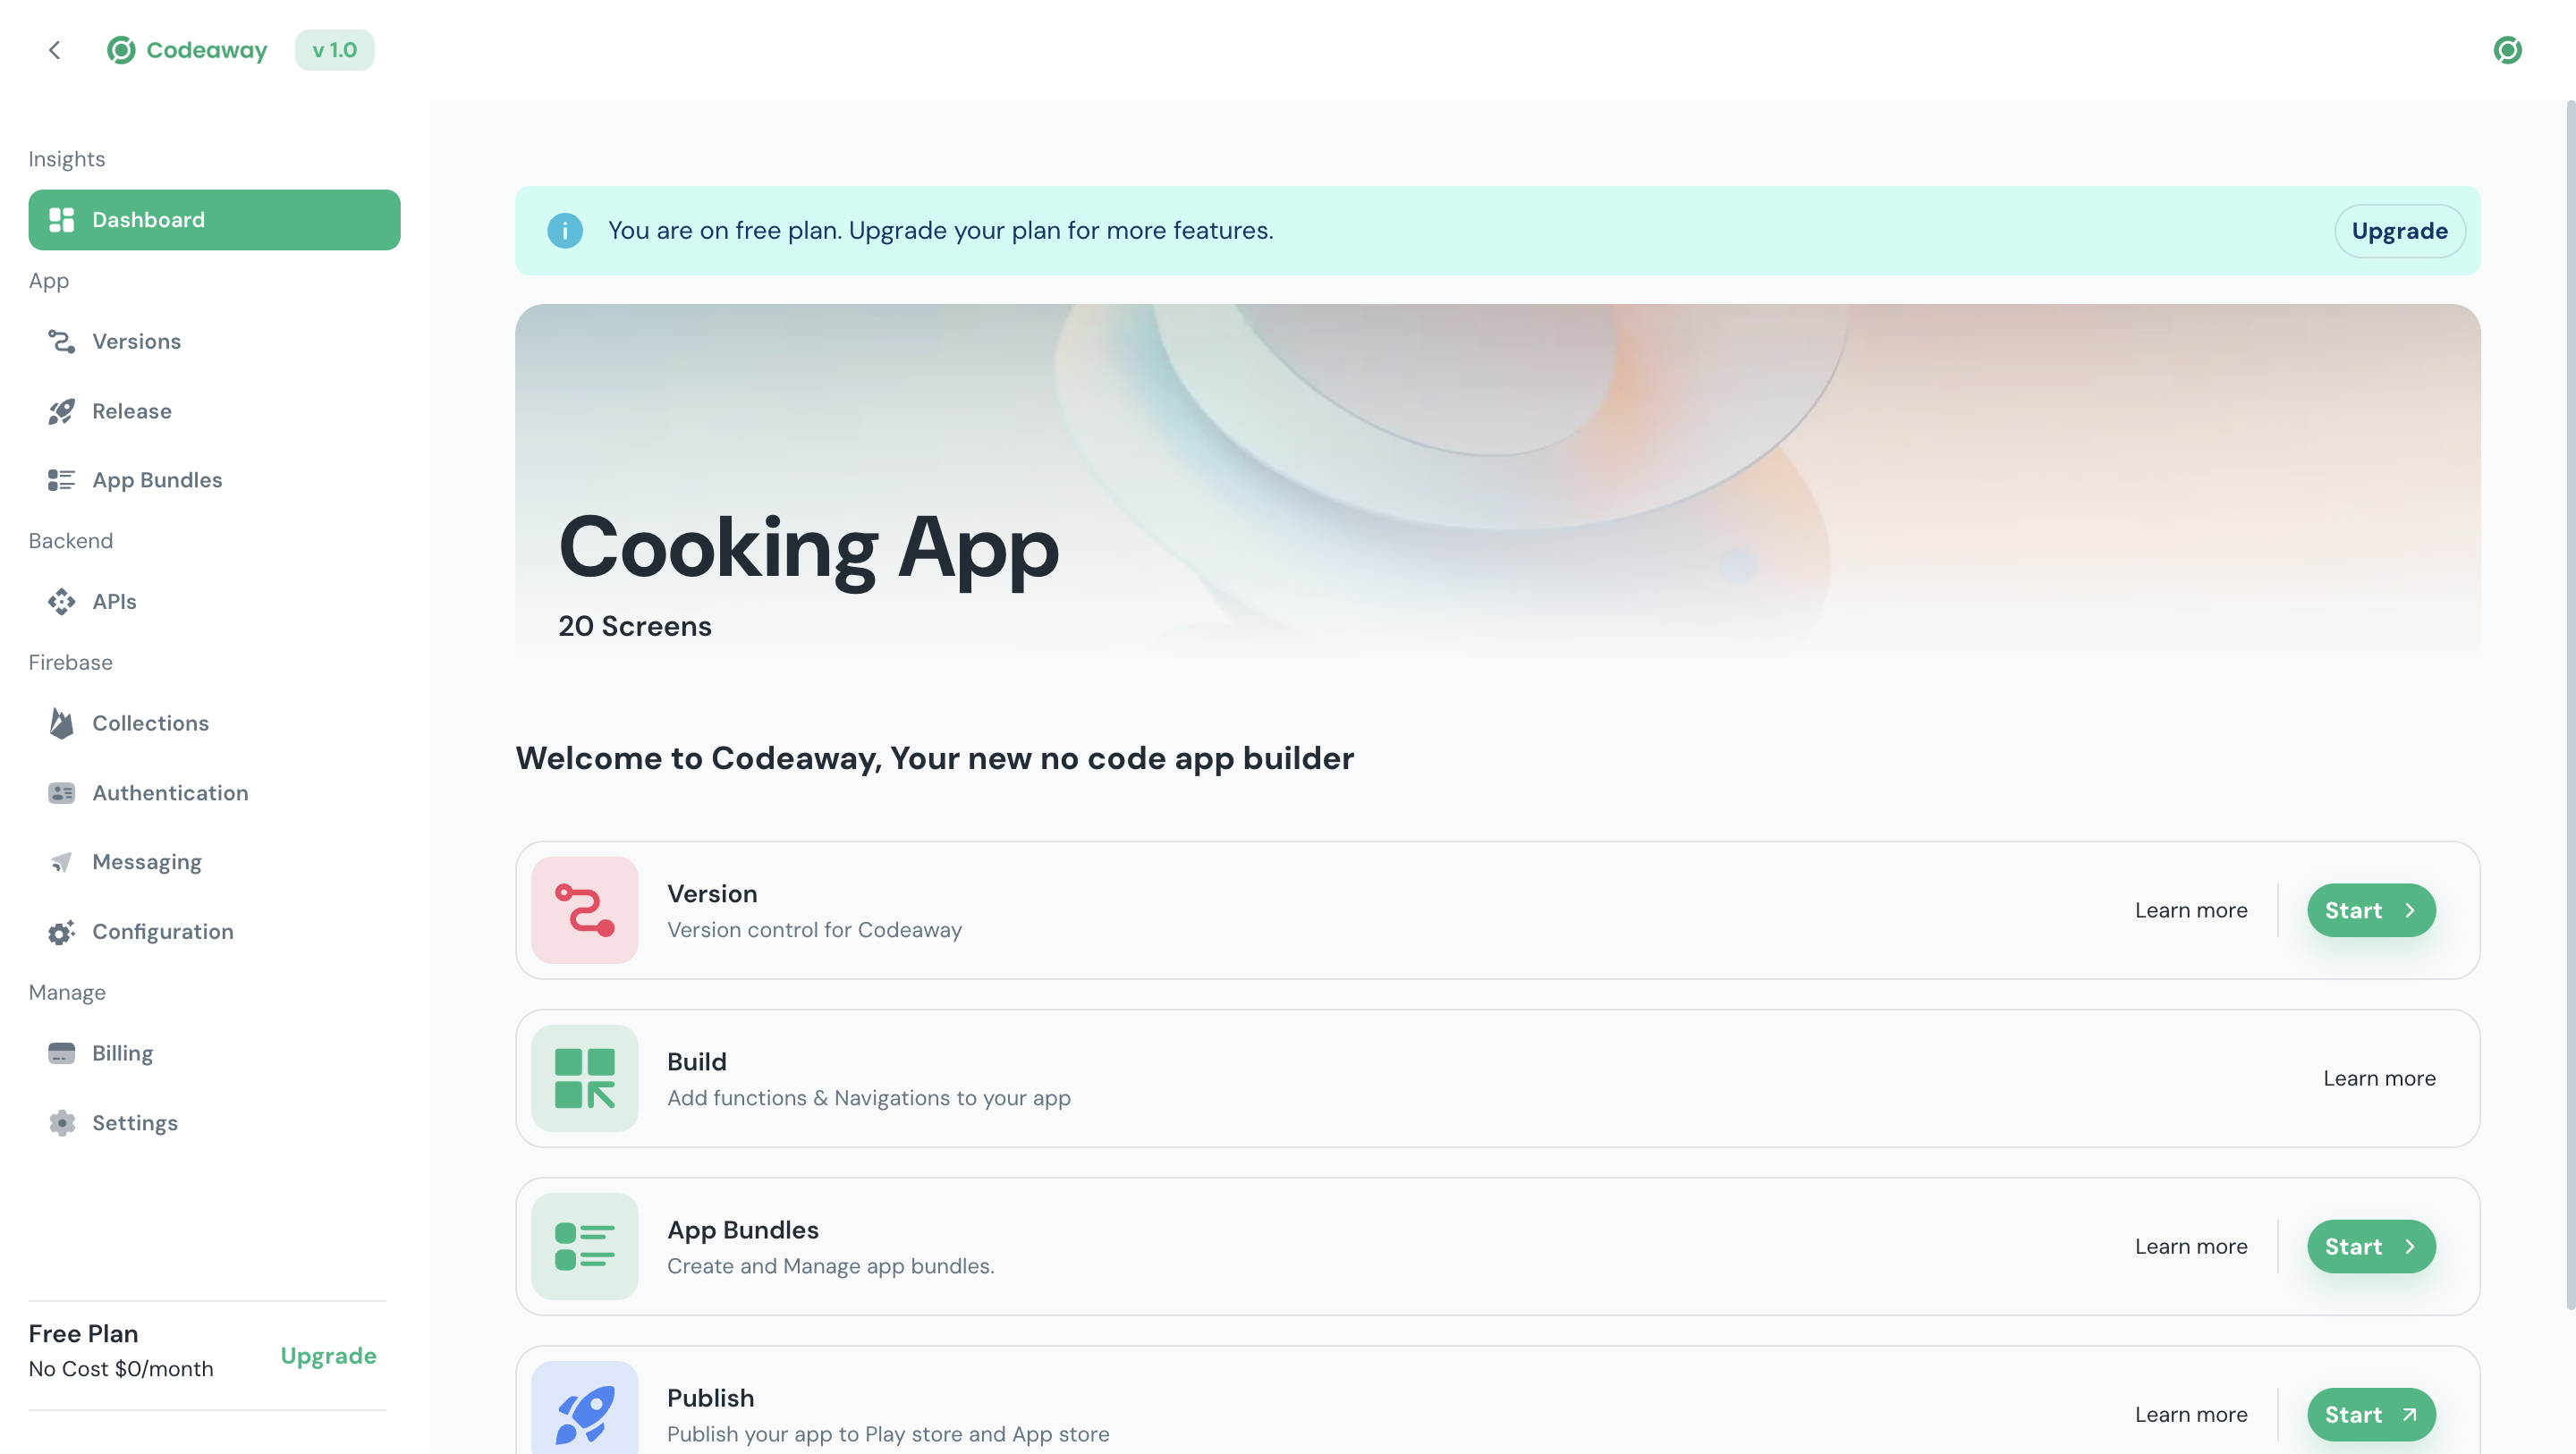
I copied the team project URL from Figma and imported it into Codeaway and This is what my Codeaway project dashboard looks like.
Creating a Version
Let's create a version in Codeaway and import all the files. By creating a version, we can ensure that our next or previous releases remain unaffected—we'll focus solely on this release.
I named this version 'Initial Release'. This version serves as the foundation of the app, where all the core features and design elements are set up.
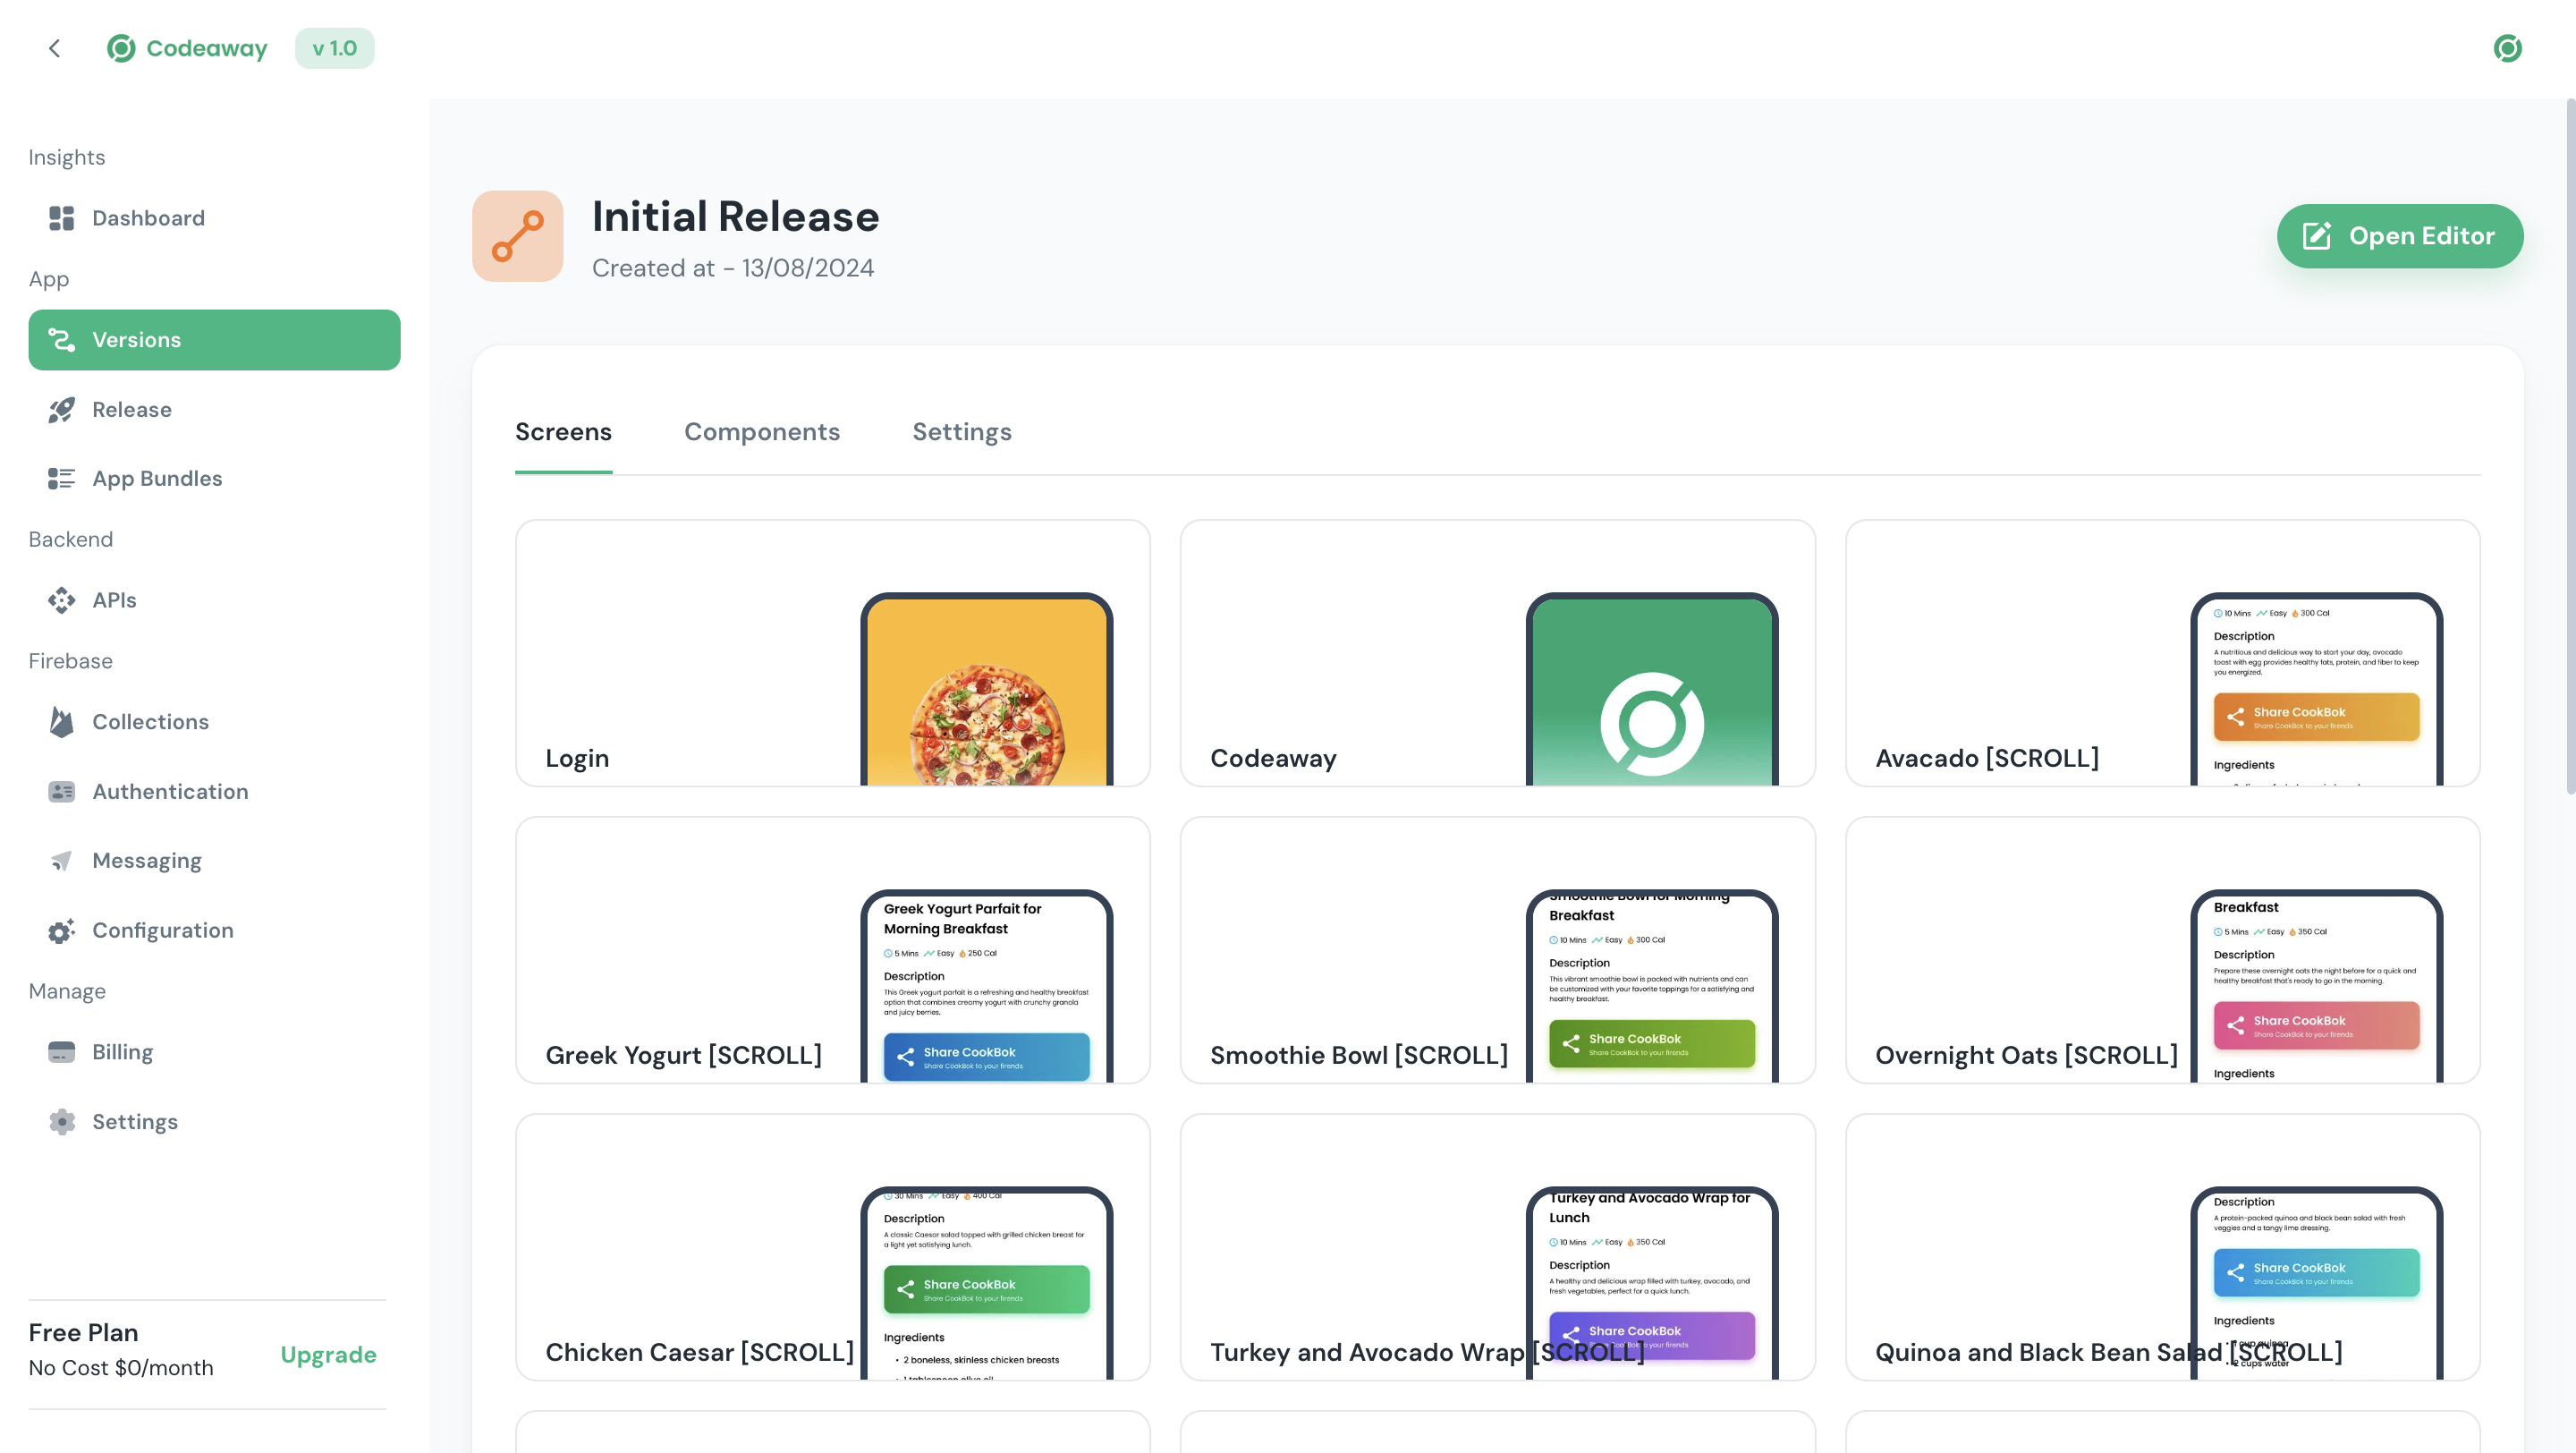
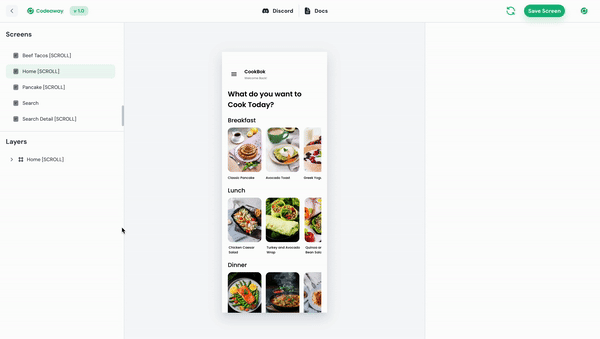
Once the version is created, we can see all the screens and components here.
Codeaway Builder
By clicking on them, we can open the Codeaway editor and start working on our app.
Next, let's add actions to our app, such as navigating to the detail screen when clicking on a card, opening the drawer, sharing content, and opening links.
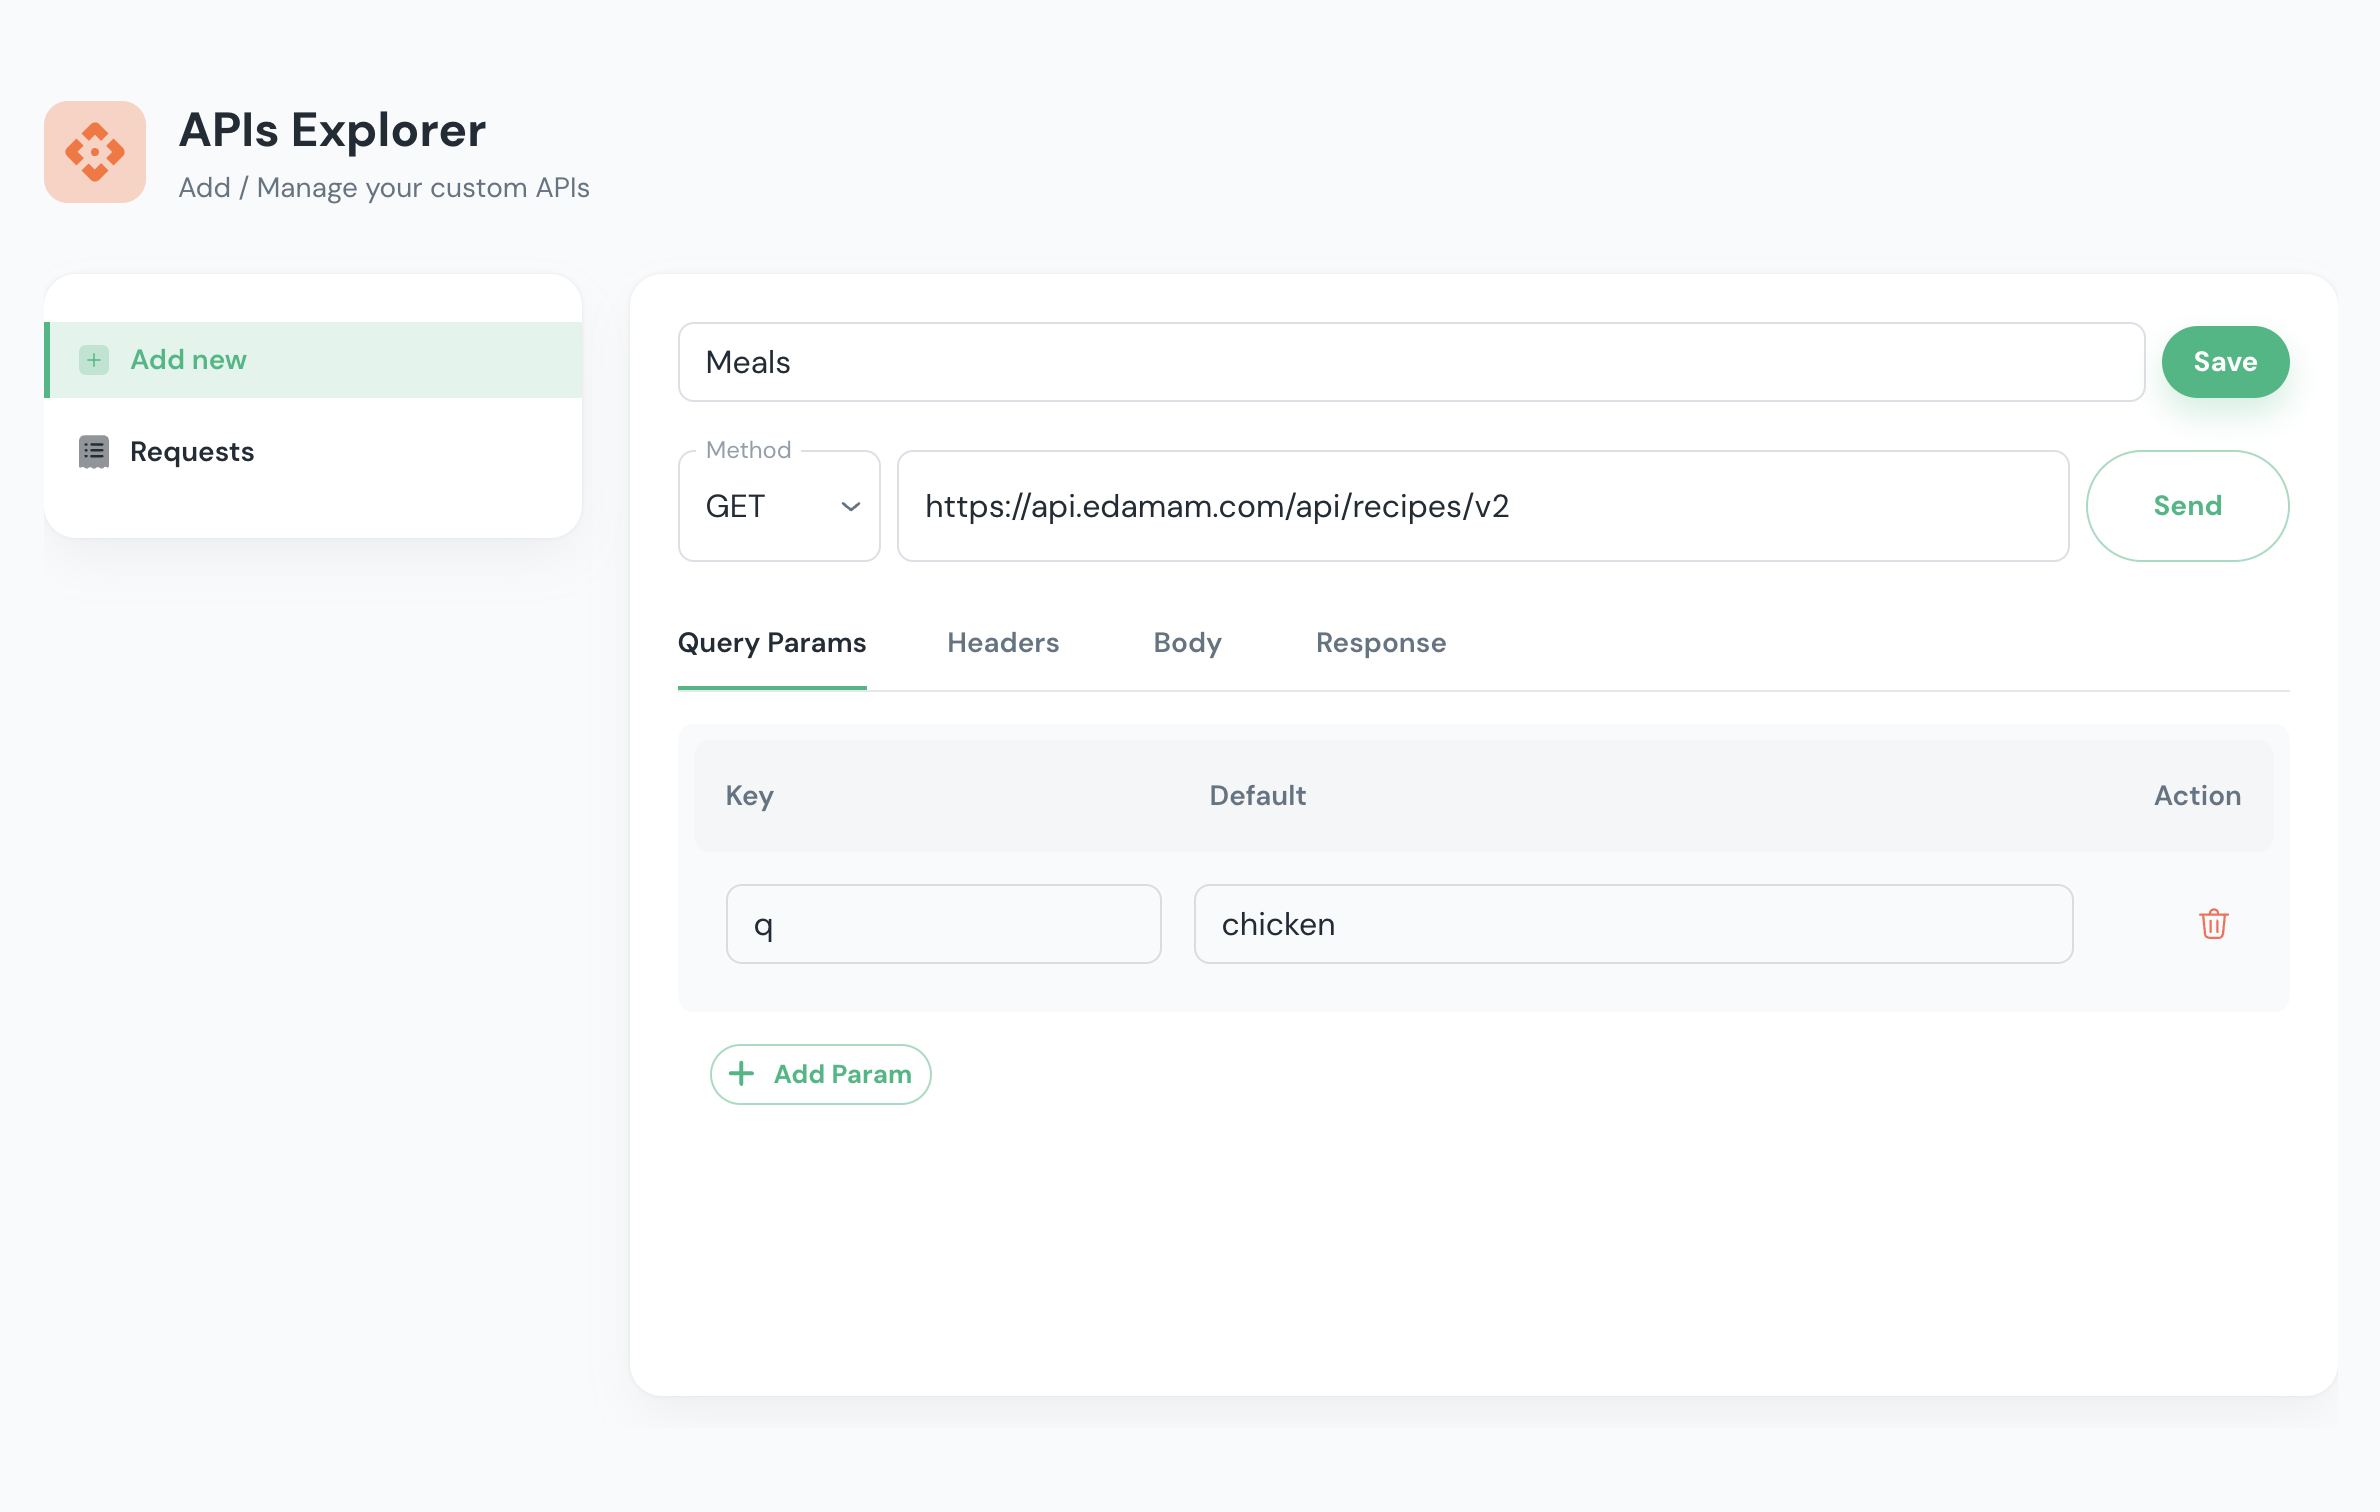
Integrate 3rd Party API
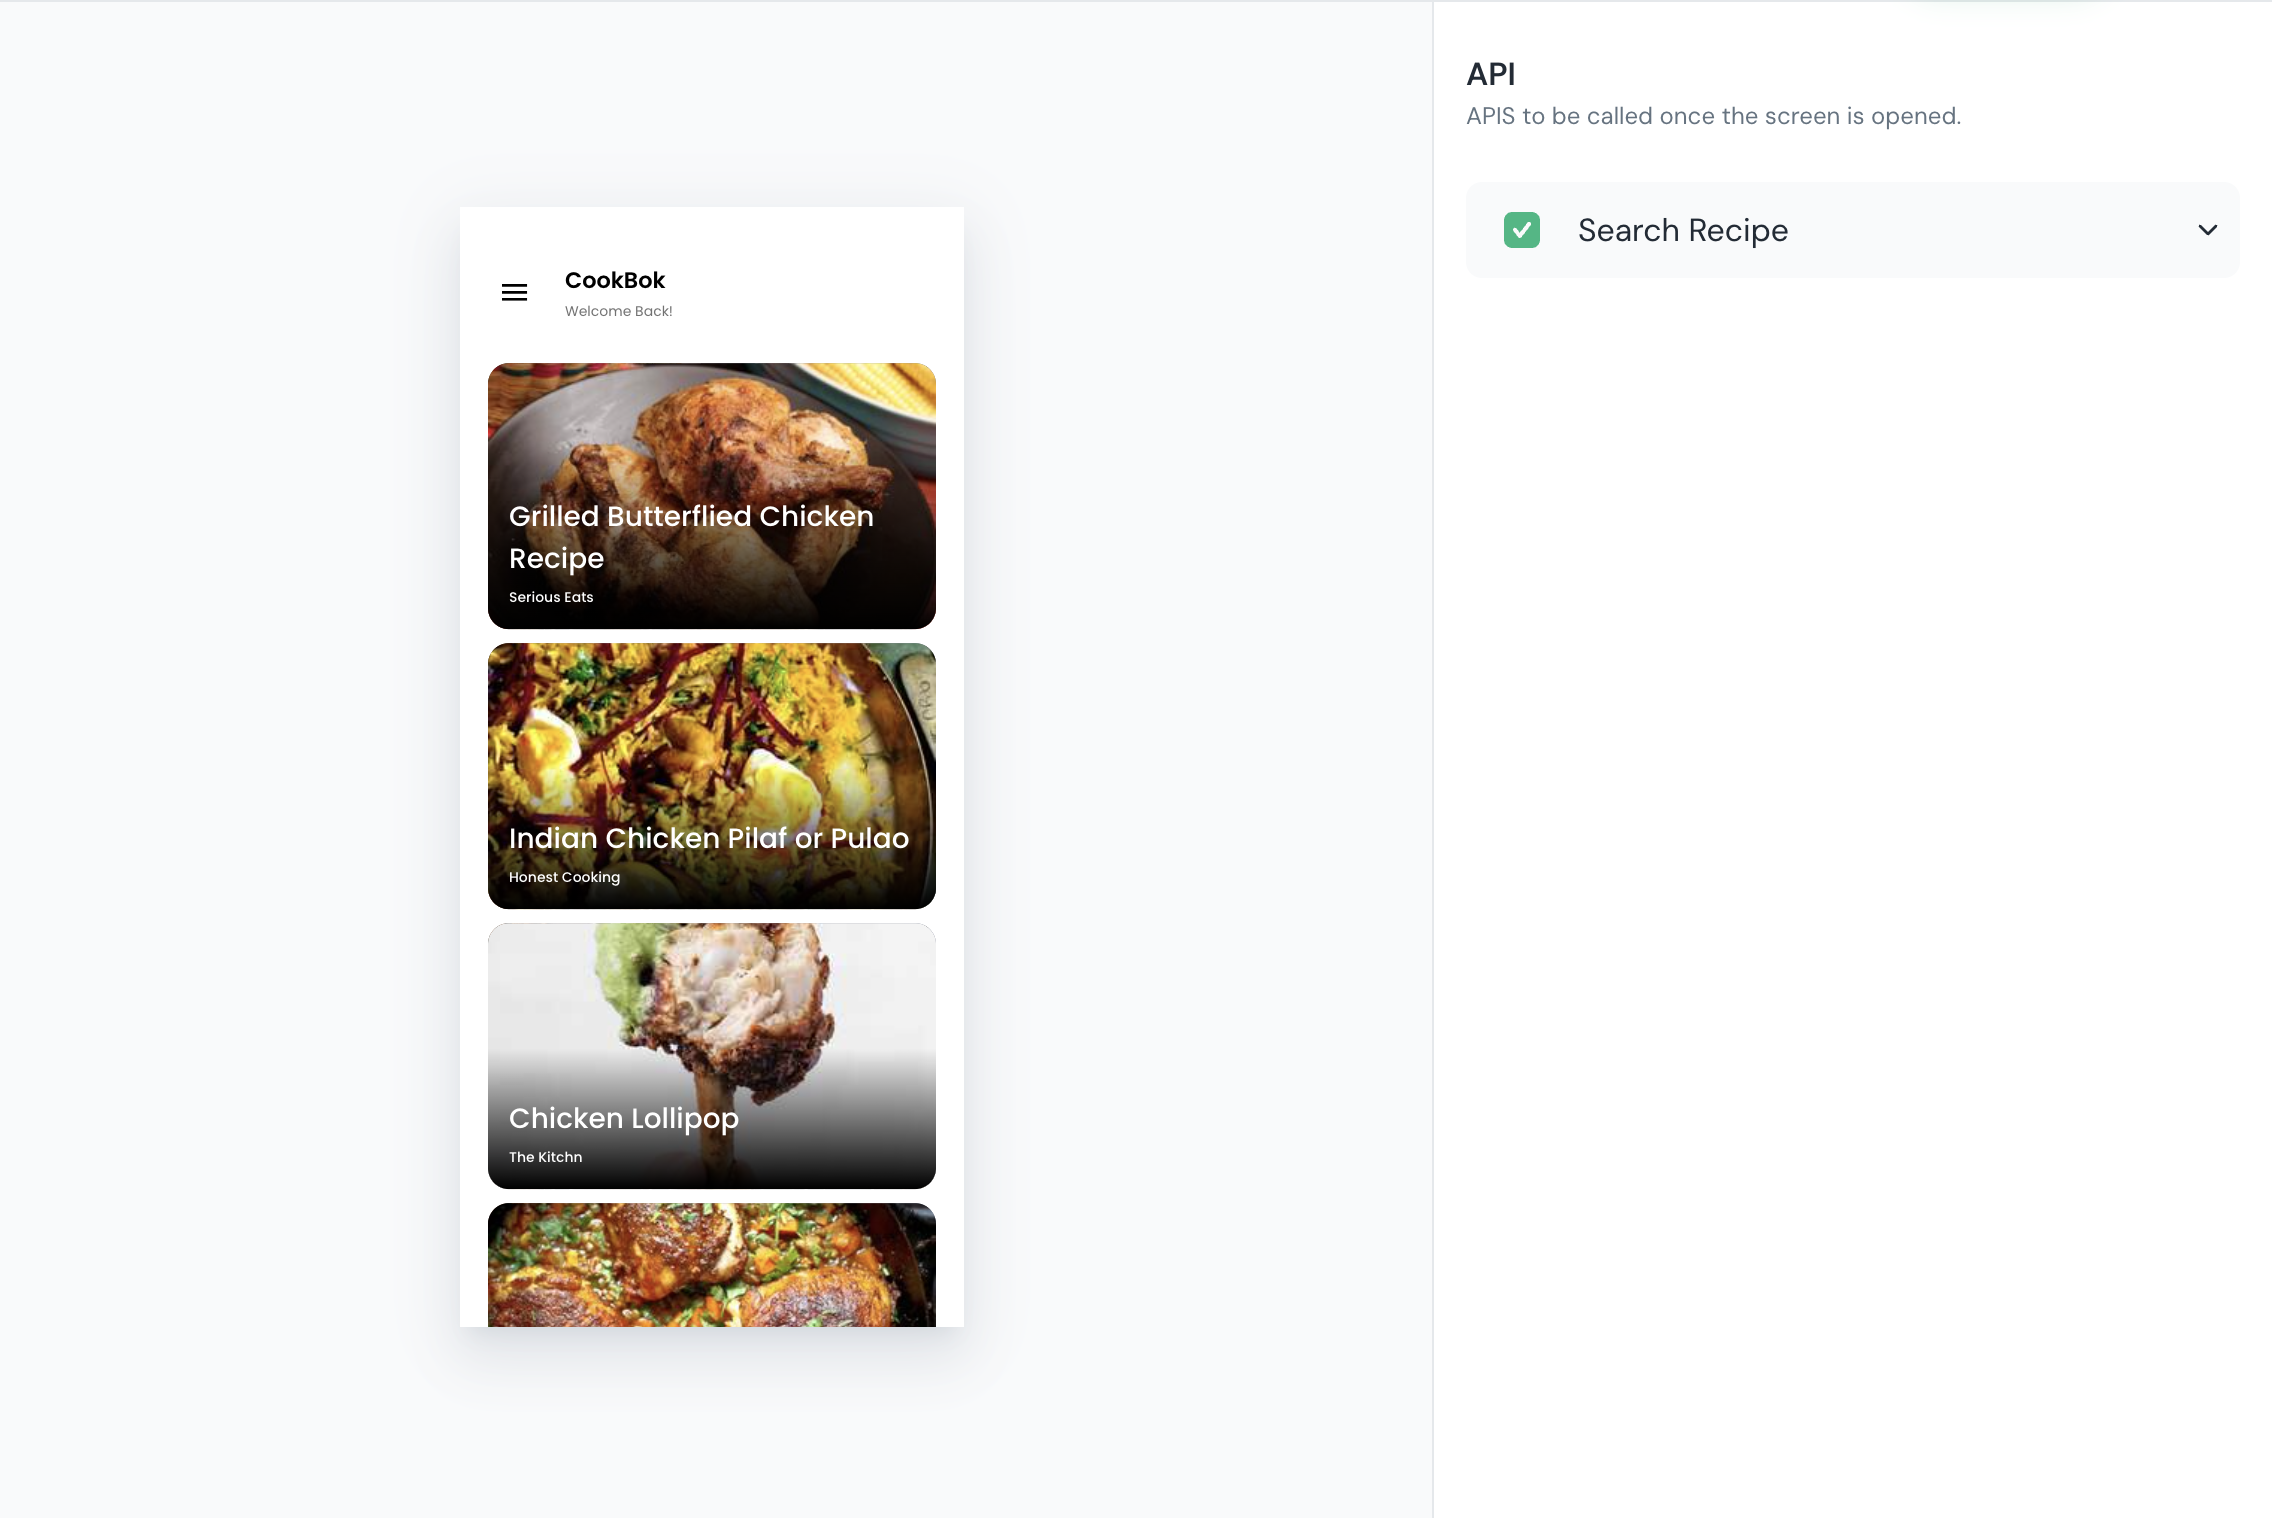
Now, let's create a list and integrate a recipe API from Edamam. To do this, go to the API section in Codeaway, create a new API, and save it.
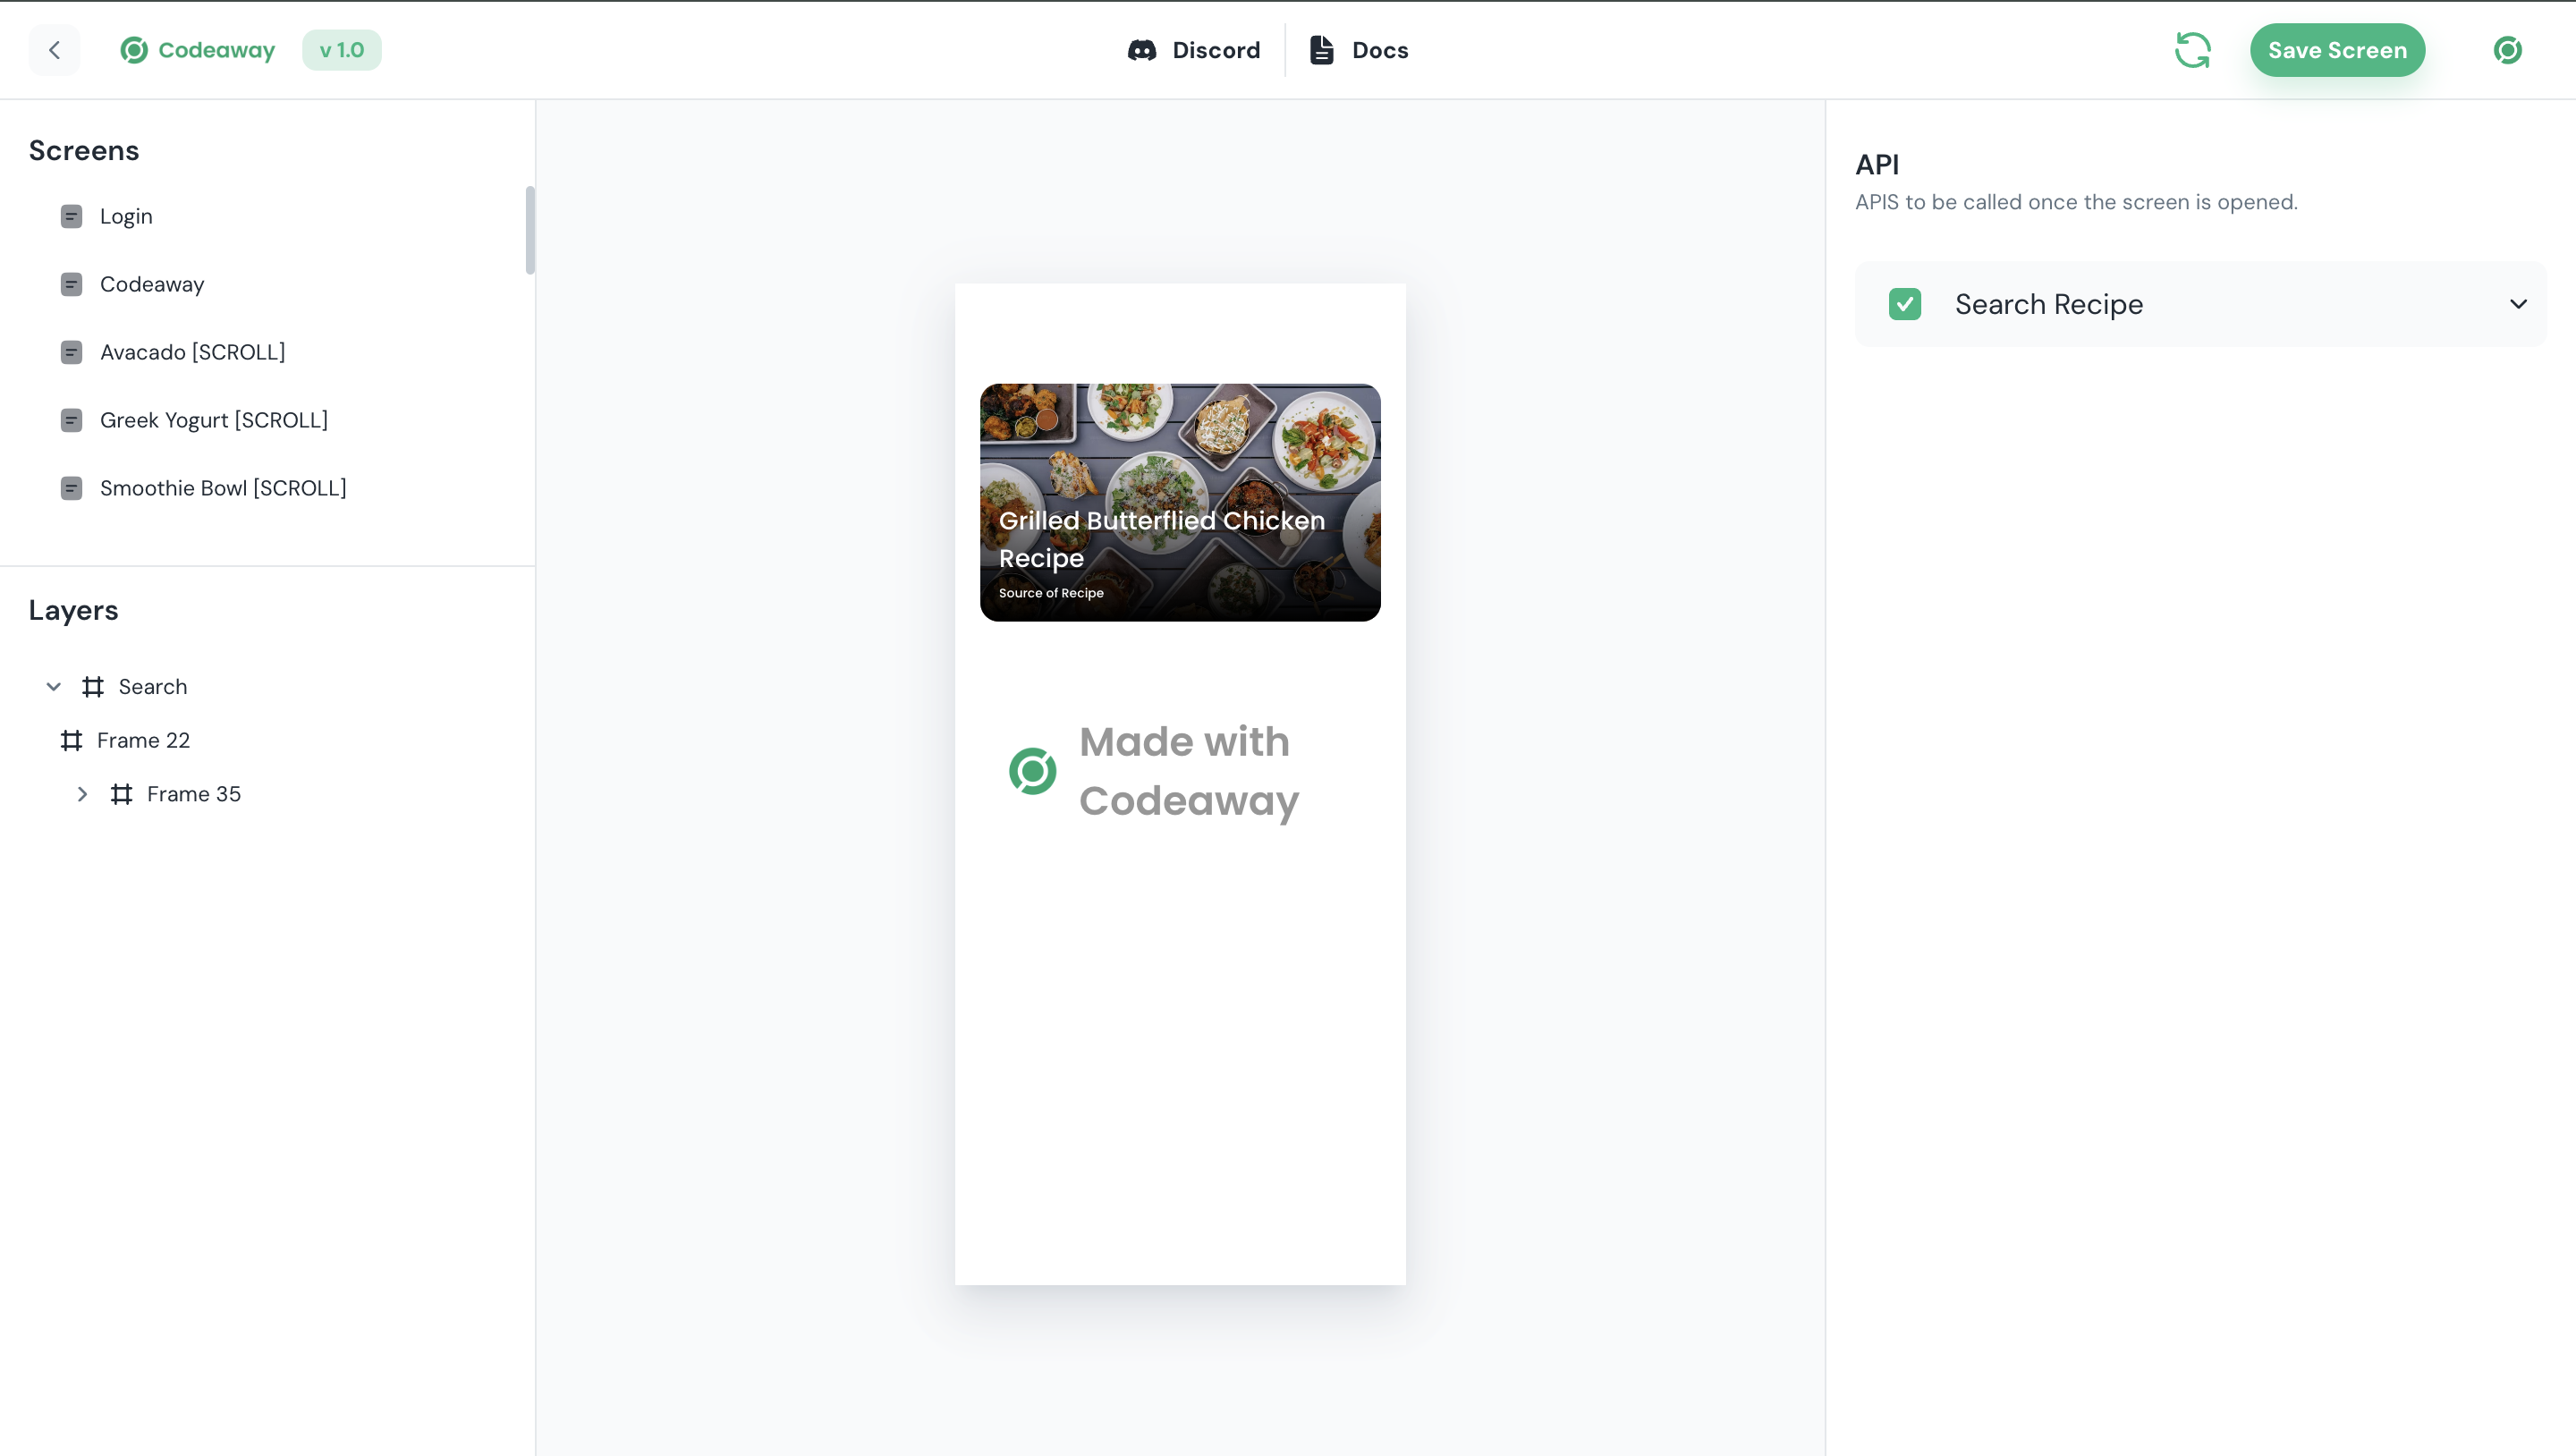
Once we’ve created the API, open the Meals screen in Codeaway and configure it to trigger the API when the screen is initially opened.
Once that’s done, add the data from the API to the list we created in Figma and assign the data accordingly.
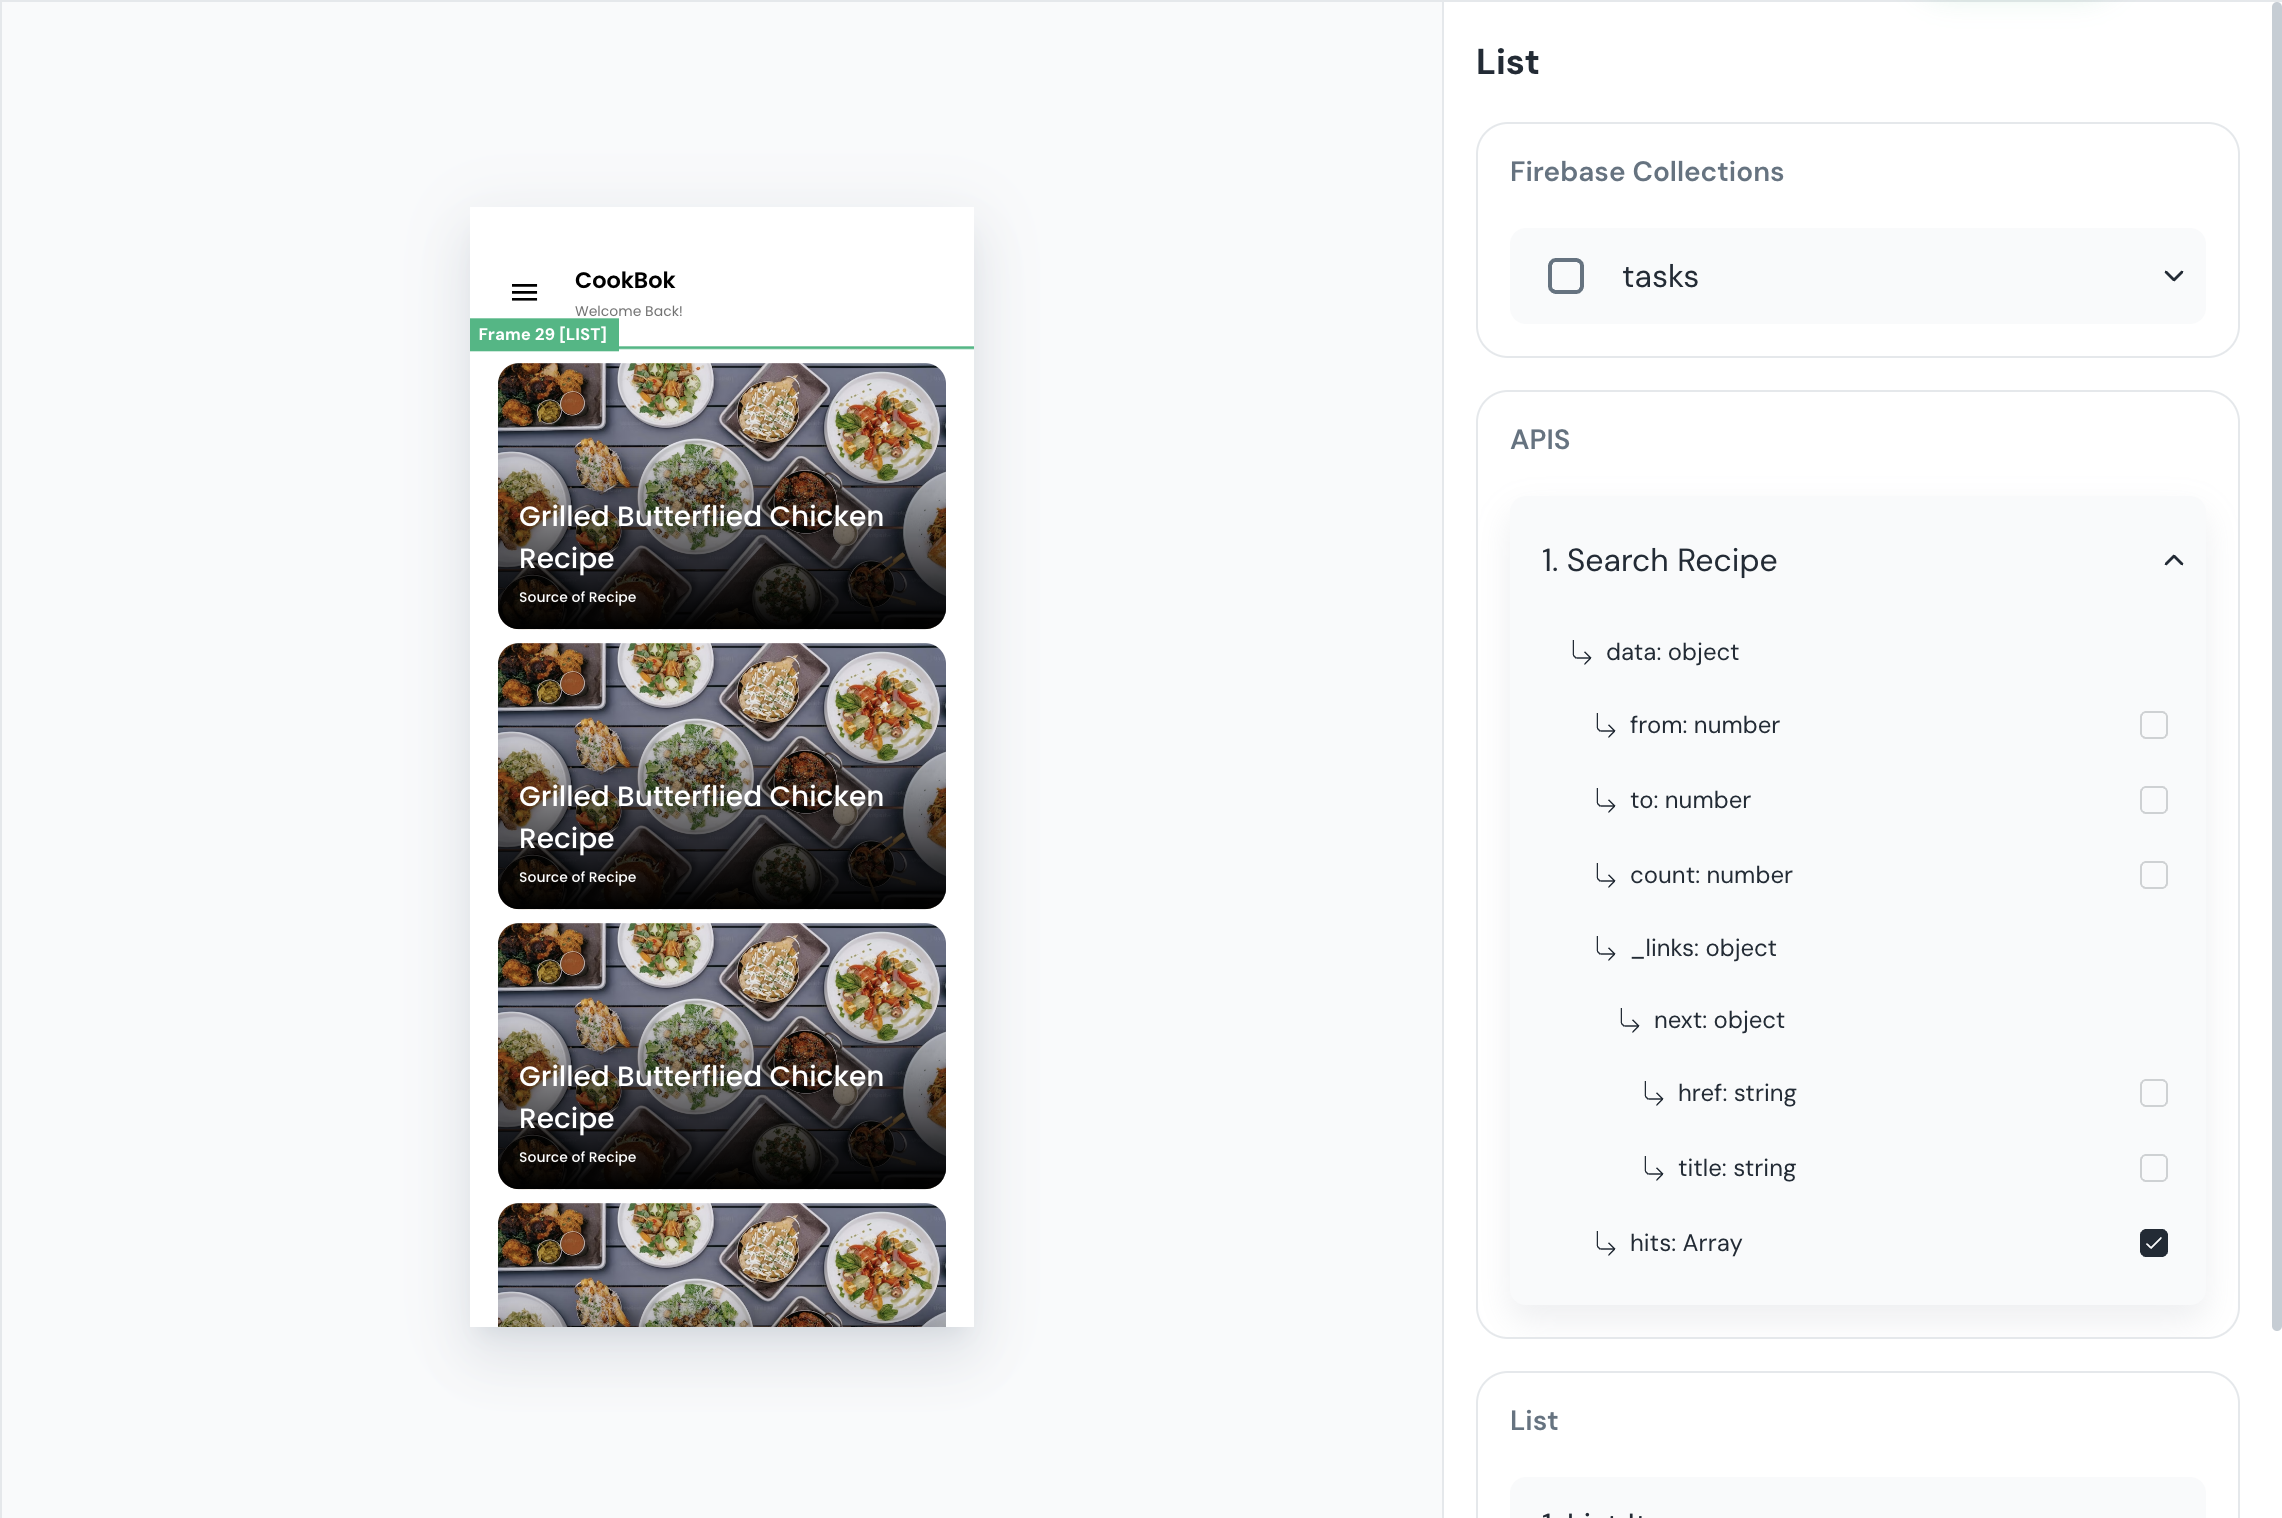
Once we’ve assigned the data from the API to our list, let’s make the data dynamic.
Once we’ve assigned the data from the API to our list and made it dynamic, boom—our list is ready! and Now let's configure Components
Add Components
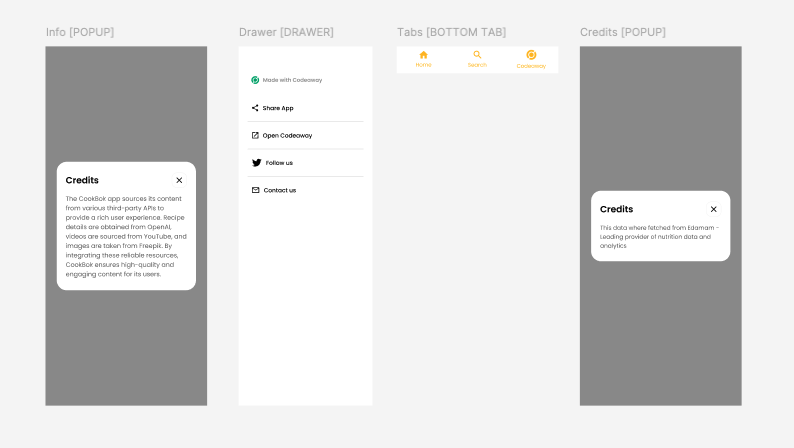
Once we've set up the actions for the screens, we can add components like [DRAWER], [BOTTOM TAB], and [POPUP] to enhance the app's functionality and user experience. To do this, create a new page in Figma and name it 'Components.'

Once that's done, let's complete the designs for the Bottom Tab, Drawer, and Popups.
I have completed the Components design. Now, let's link this to Codeaway.
Configure Bottom Tabs

I have completed the bottom tab design and added the required tags, such as [BOTTOM TAB] and [TAB]. I then opened the editor in Codeaway to integrate these elements.

Once the editor is open, we need to link the screens to each tab. Once that’s done, our Bottom Tab will be ready.
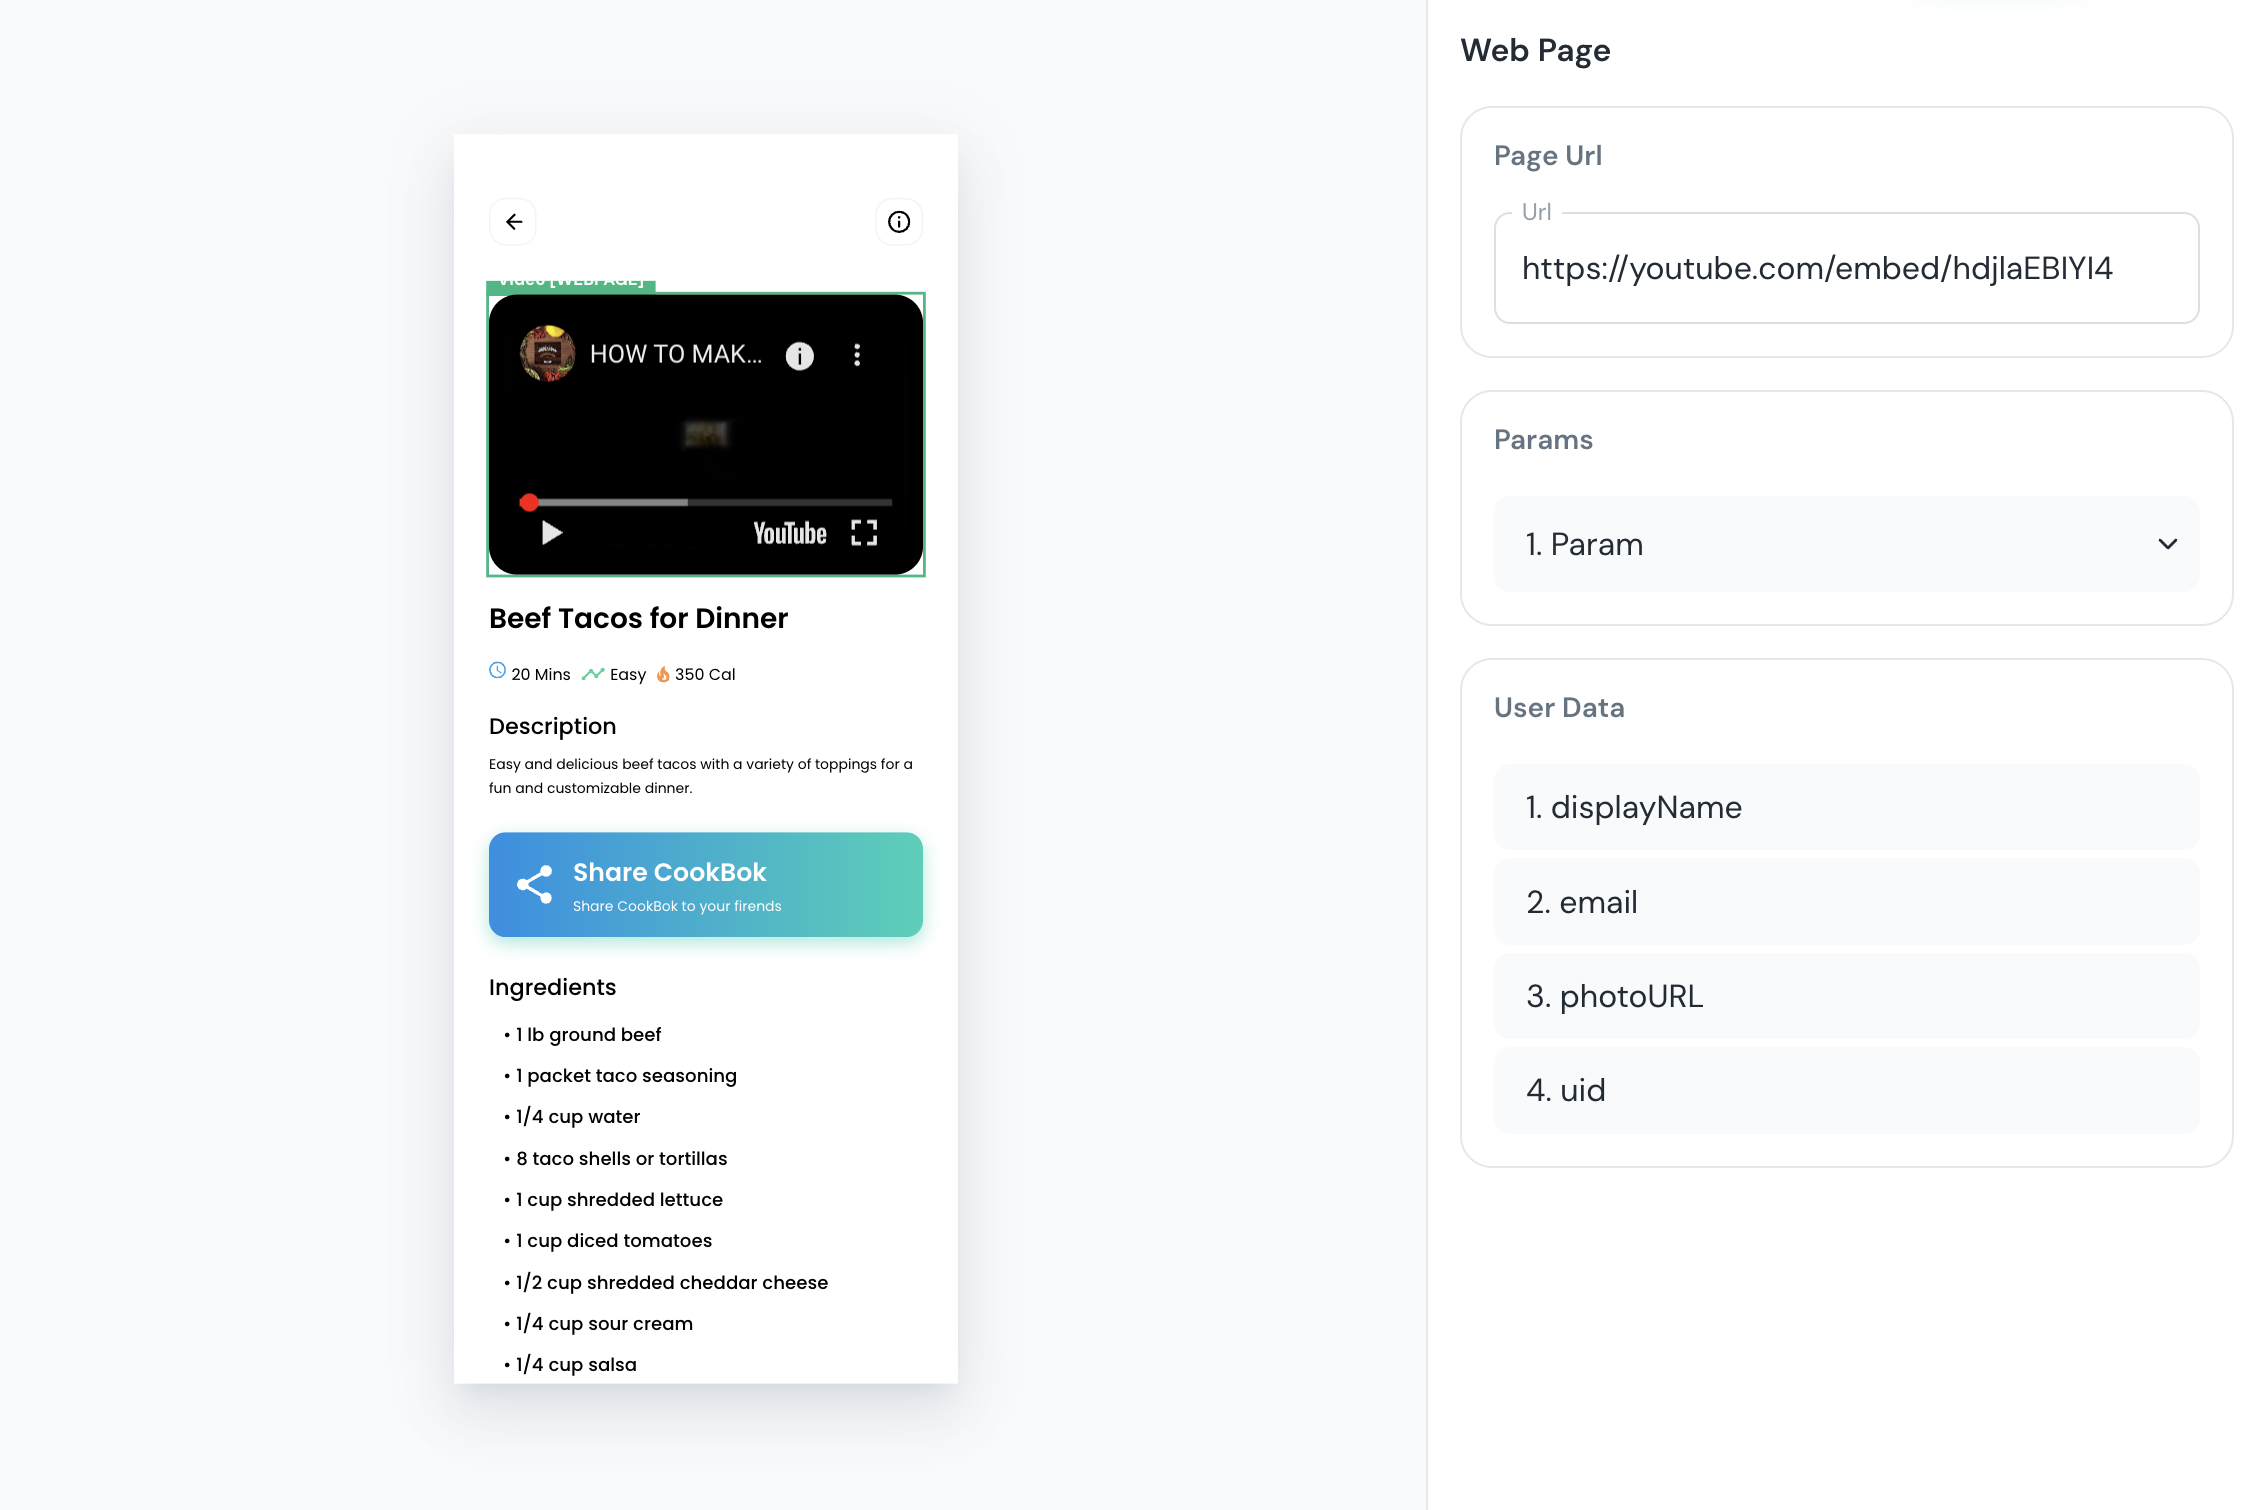
Add Youtube Video
Now, let's add a YouTube video for cooking instructions. We’ll use the [WEBPAGE] tag in Codeaway and embed the YouTube URL.
Release
Once everything is done, let’s create a new release.

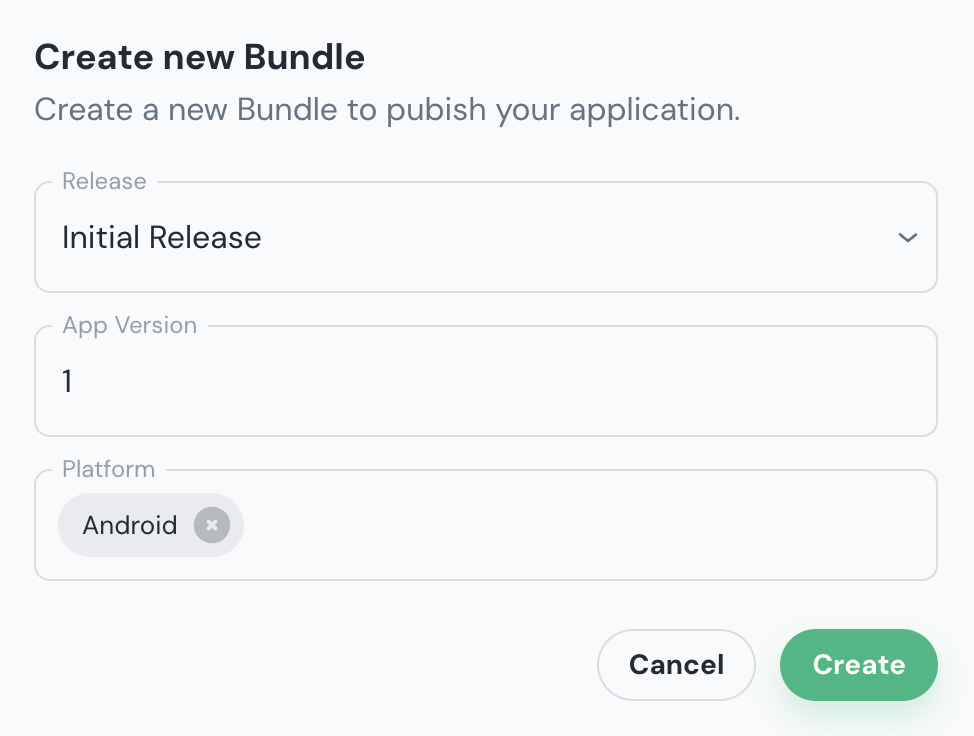
App Bundle
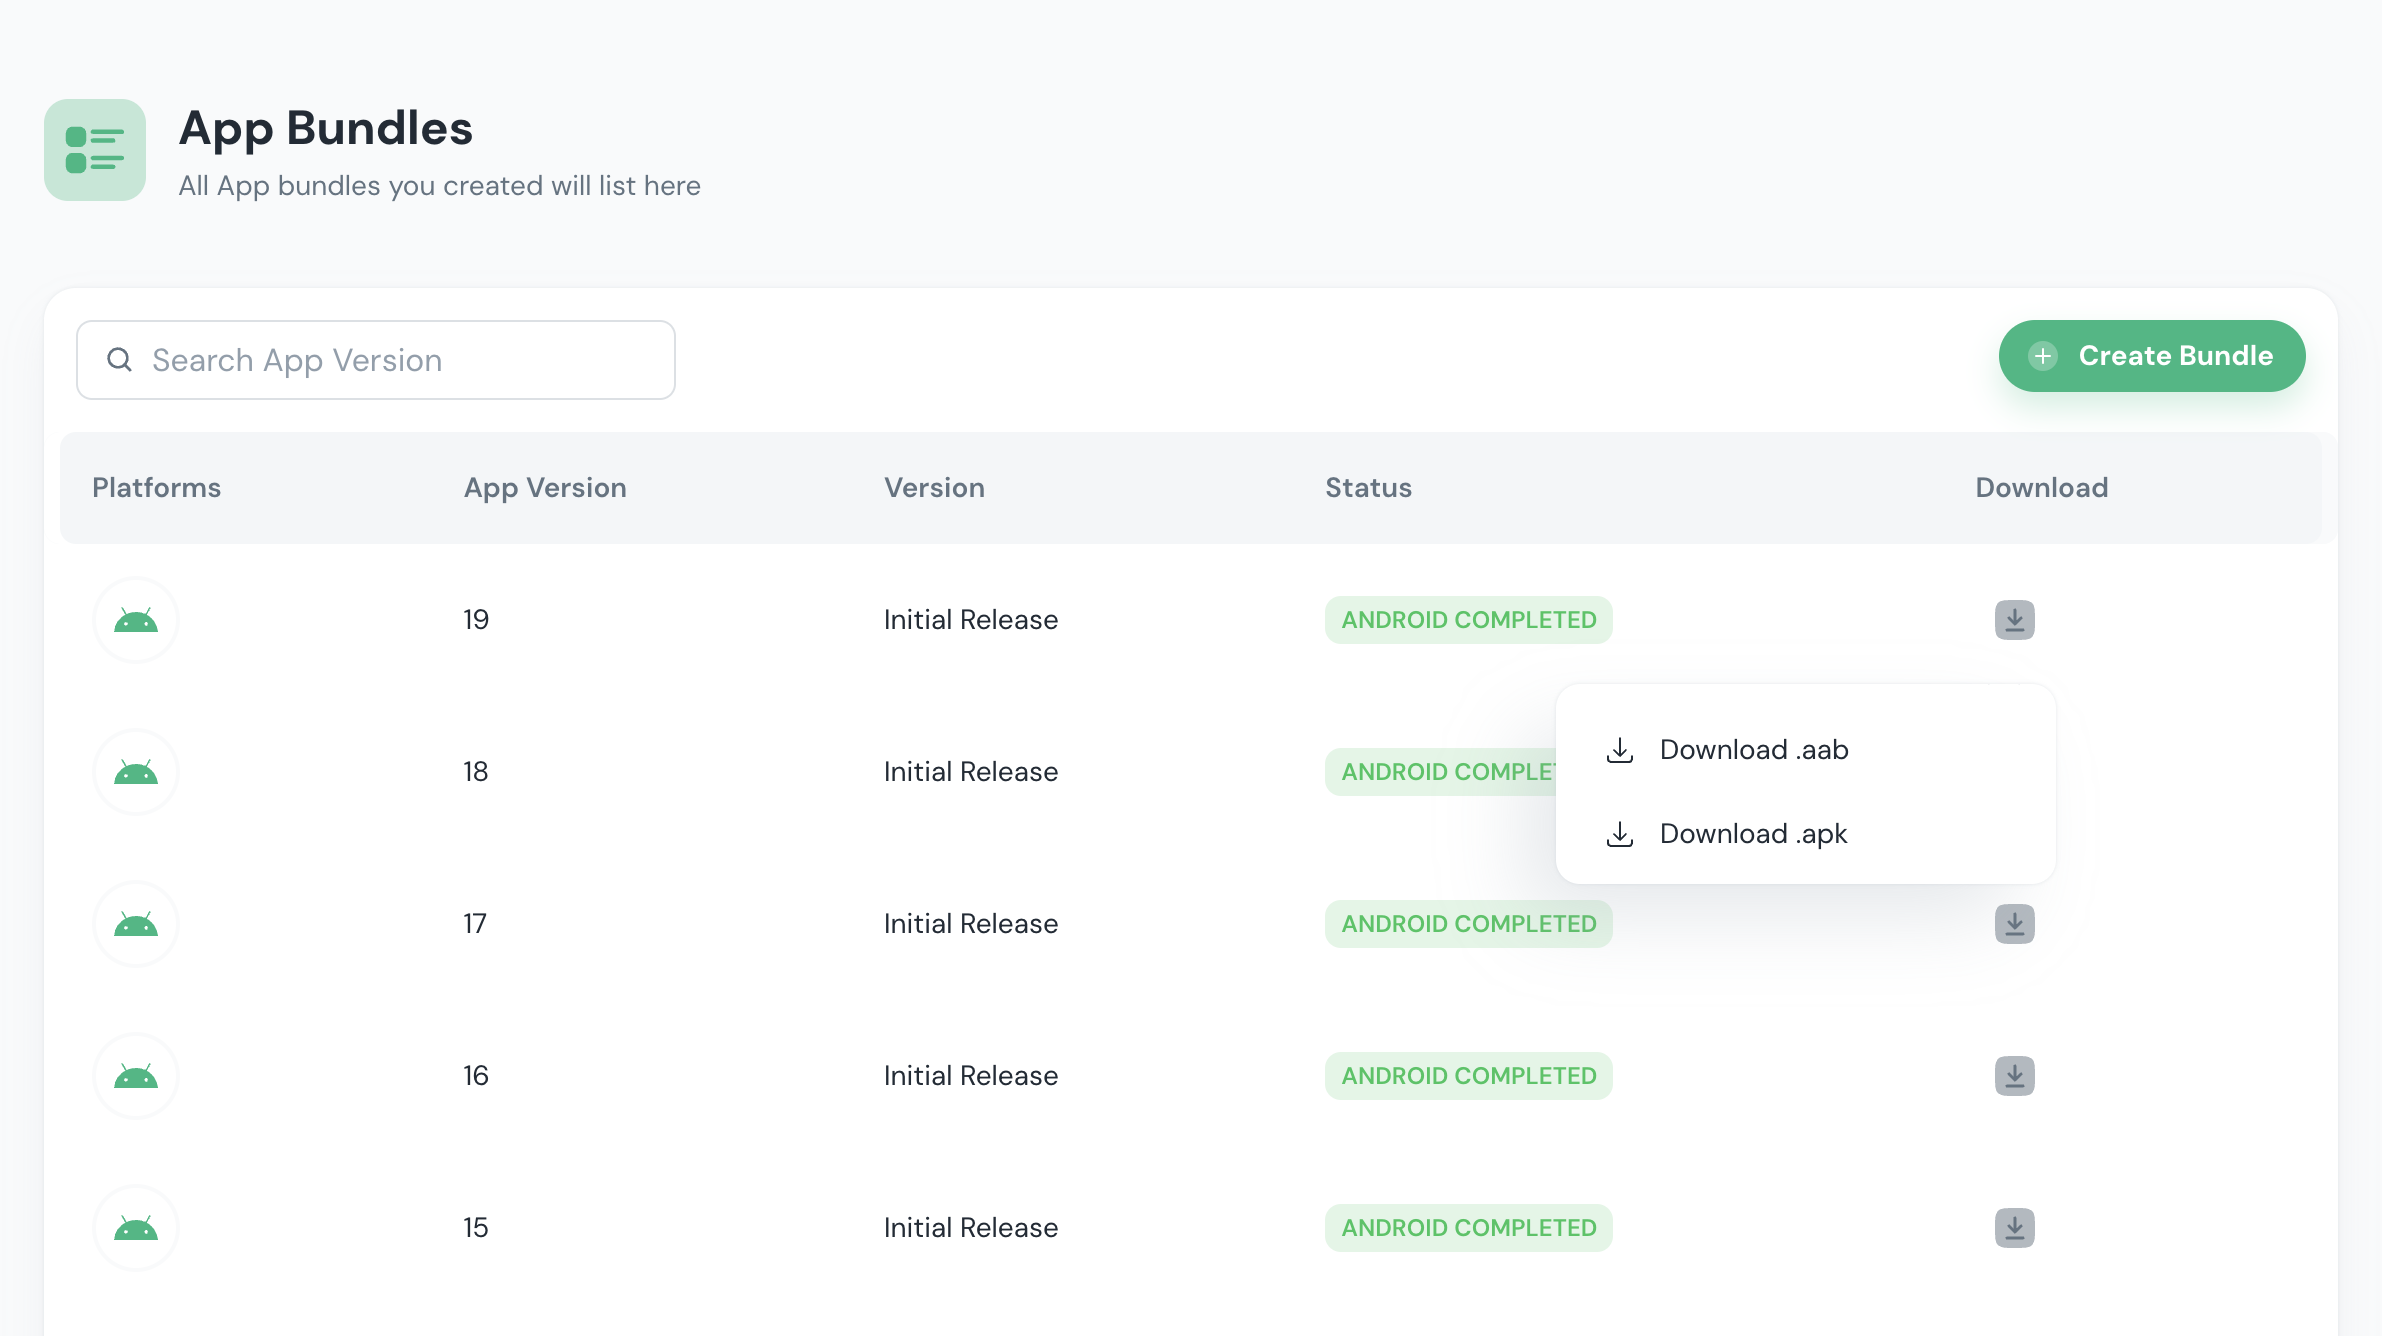
Once the release creation is complete, let’s create a new bundle for the App Stores.
Once the build is complete, we can download it and submit it to the App Stores.
This is how I built a recipe app using Codeaway in under 15 minutes. What are you waiting for? Get started now, launch your apps, and make your first dollar online!